-
Course Manager
We don't want to force the course that we’ve established on CheckiO upon you, so you have a definite ability of replacing, removing or adding new custom missions for your class.
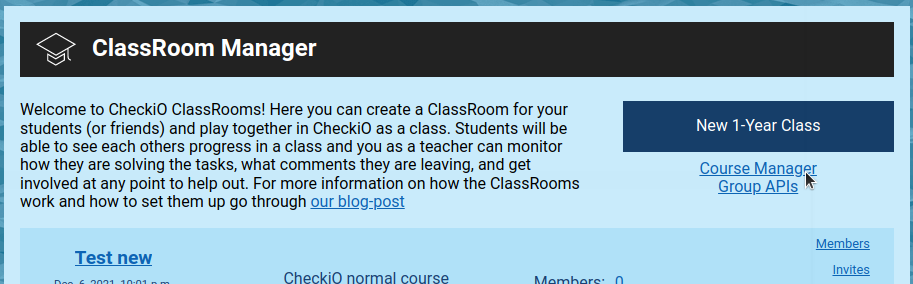
In order to do that, let's get back to our ClassRoom Manager and then to the Course Manager. Here you can create your own Course or your own Map and attach it to your class.
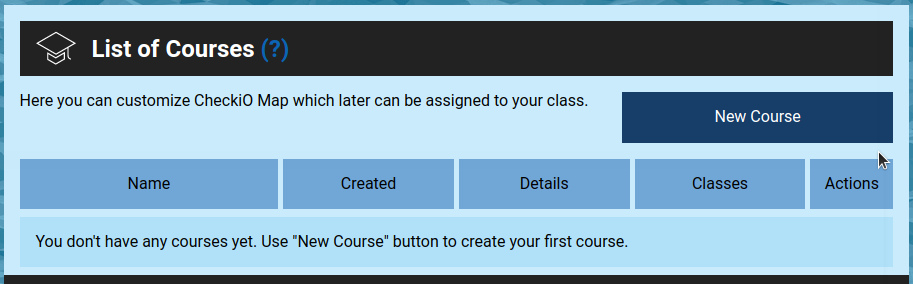
Let's try to create a new course. Basically, to achieve that you only need to give a name for the course and choose the base course. The base course is the course which will be copied to your current course, so you can change it.
CheckiO currently supports 3 versions Easy, Normal and Advanced, so you'll have where to start. Later this list will be expanded with the courses you’ve created, so you can copy courses and create based on already created courses.
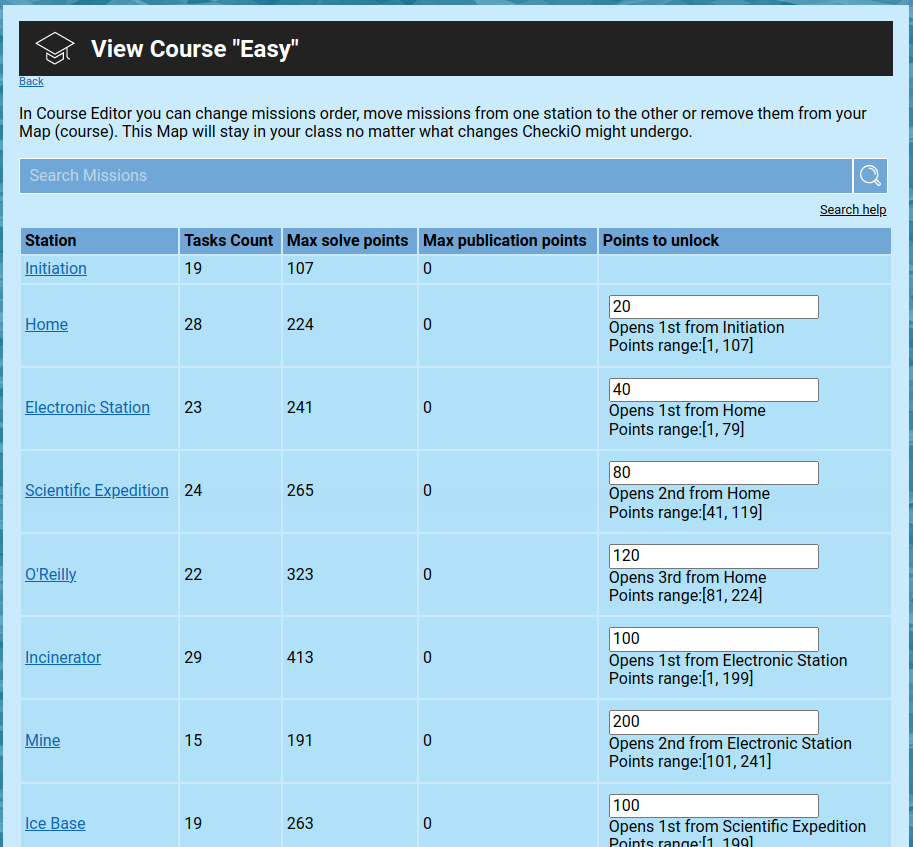
When pushing "Create" you get to a list of all available Stations on your map. It all starts with Initiation and Home. The Initiation Station consists of easy missions and Home has a little bit more advanced ones. Your player's journey starts from the Home Island, but they can practice with the very simple missions on Initiation. I'll explain later what other fields in this table mean. For now let's check out how we can choose missions on each station.
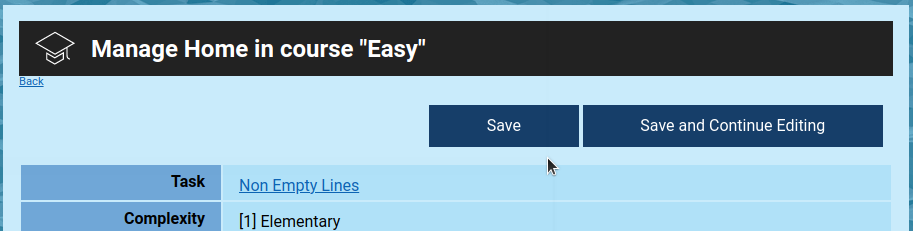
Let's see what’s inside the Station. It’s a table of all available missions. It shows the information about each mission on the Station in order of how those missions are listed there. The listing order is determined by the mission’s number - missions with the lower number go first.
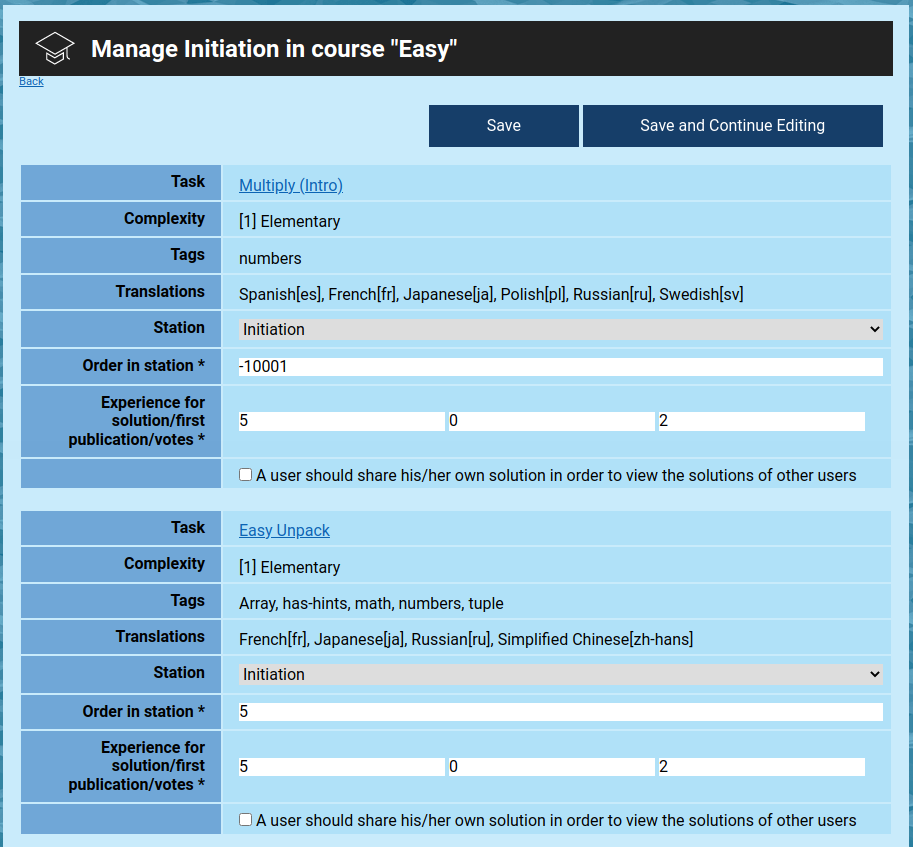
Every mission has a name (you can click and open it to read the description), tags, available mission translations and mission’s complexity. There also are the editable fields which you can change. If you want to remove the mission from the Station, you just need to choose "No Station". You can change the default experience for missions and publishing requirements, if you want to. This way your students will be able to see the solutions of other users (and students) only after sharing their own.
The most appropriate way to assess students is by sharing solutions, because once the solution is shared one won’t be able to edit it.
Don't forget to hit the "Save" button when you make changes on the Station.
OK, all of this is useful if you want to remove or edit the missions of the current Station. But what if you want to add a new mission from another Station?
We have a powerful searching tool that can help you find a mission suitable for your class’s needs. With it you can filter the missions by name, available translations, tag or complexity.
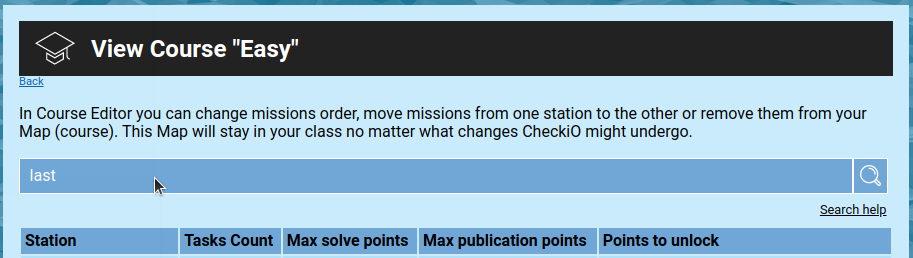
For example, for the Home Station I need more easy missions with using list - I’ll choose “complex:1 tag:list” in the search line, then pick the mission I need to move and change it’s Station in the drop-down list. Don’t forget to hit the “Update” button.

Check “Search Help” link below the search field in order to see all available options.
One more thing that I’ve mentioned before is the list of Stations. The idea is quite simple - each Station around Home will be opened in certain order depending on how many points a user gets. So, you can change that amount of points in this table.
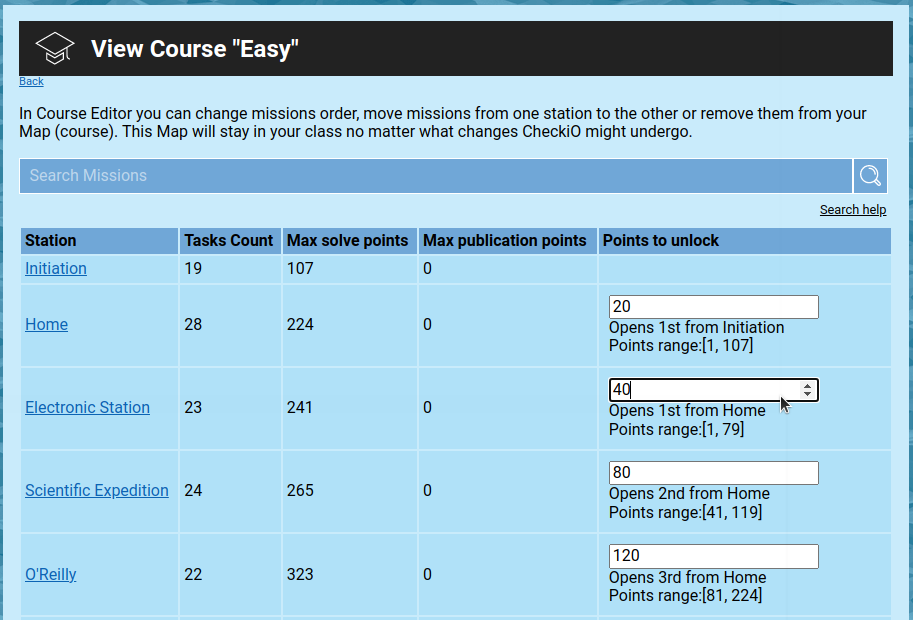
Here you can see that the Electronic Station will be opened right after the Home Station, when the user earns 30 points. You, as course creator, can change that number.
Now, when your course is ready you can go and edit the class to which you want to attach it. When the attachment is done, you can switch to the Demo Mode to see how your full map looks like for your class.
You can also download the course in CSV format and edit it in Excel, for example. It is very useful for a massive edit.
In the next article we will get to know how you can customize the class to your liking.